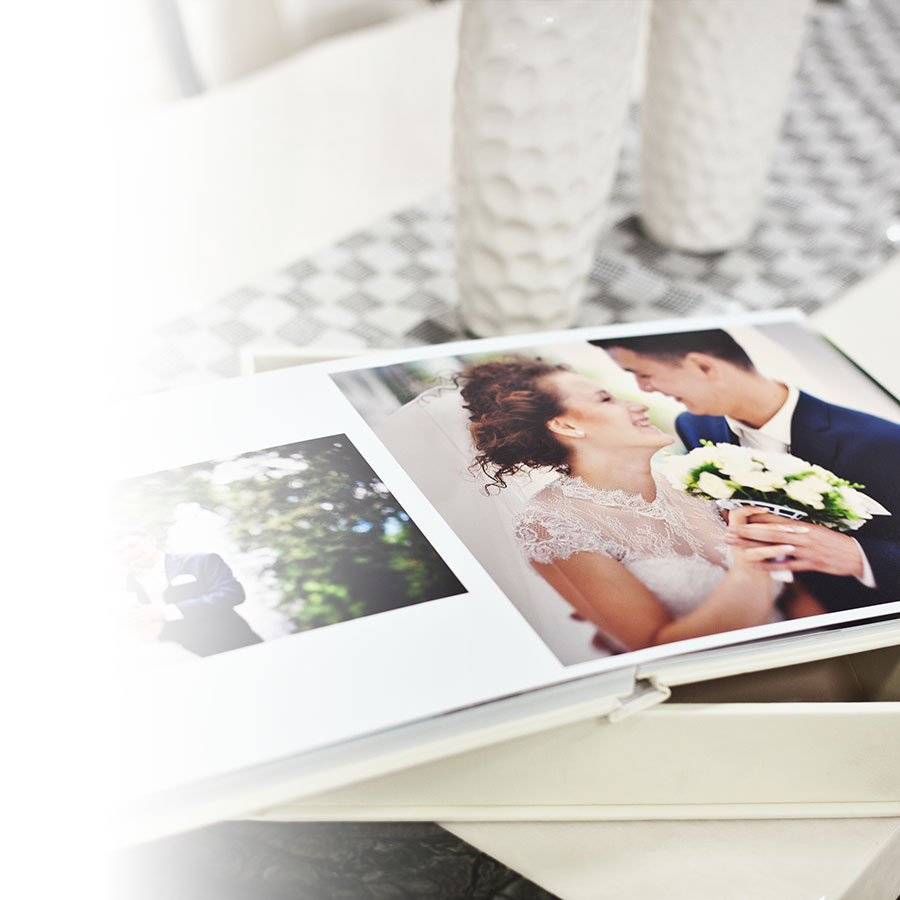
Time flies! Does your wedding already feel like it was ages ago? Take advantage of gloomy weather to sort through your photos and relive your special day with a custom photo album. Choosing, editing, organizing: here are 10 tips to create a perfect keepsake!
1
Sort through your photos
Feeling overwhelmed by the mountain of wedding photos in front of you?
The first thing to do is sort through them:
- Remove duplicates, blurry photos and photos that are not well cropped.
- The number of photos that you will need depends on how big your album is (between 24 and 120 pages). We recommend choosing an average of two photos per page to avoid overloading the album.
- If you’re having trouble narrowing down your selection, limit the number of photos per wedding moment. For example, choose a dozen photos of the pre-wedding preparations, 20 or so of the ceremony, 20 or so of the happy couple, etc.
2
Choose your photos
- Just because you hired a professional photographer doesn’t mean these are the only photos you should use, especially if you feel you’re “posing” too much in them.
- Opt for your favourite photos: the most natural, spectacular, spontaneous or funny.

3
Edit your photos
Don’t forget that you can crop your photos with Jean Coutu’s online photo assistant. This will allow you to zoom in on a part of the picture that you particularly love, or remove certain unflattering details—so don’t be hasty when eliminating certain photos.
4
Organize your photos
Placing your photos in chronological order allows you to recount the story of your wedding day: the preparations, the ceremony and the departure—all the key moments have to be included! For easy organization, divide your album into sections (one for each important moment) and then add a section just for bride and groom photos.
5
Choose your cover
The cover is a key element of your photo album. Choose one that you feel represents you. Several options are available, such as:
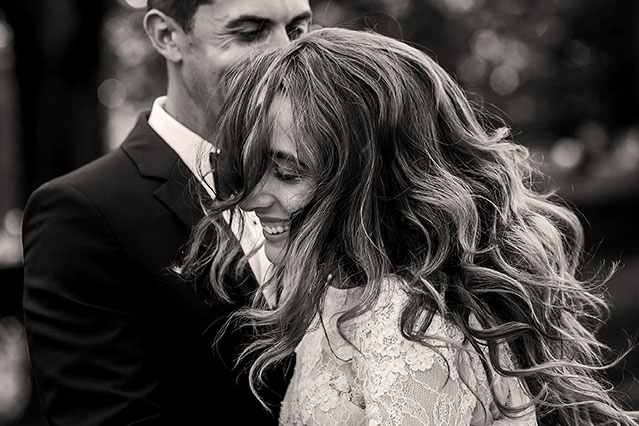
- A romantic portrait of the bride and groom.
- A simple cover with your two names and a photo of your bouquet or wedding rings.
6
Choose photos of your guests
A wedding album should be all about you and your significant other—don’t fill it with shots of your guests! If you want to include a section dedicated to your guests, opt for photos that also include the bride and groom, like a shot of everyone dancing or someone helping you do up your corset. If you’re really set on including a picture of all your guests, add a section dedicated entirely to family and friends.

7
Focus on the details
A hand resting on a shoulder, a ring being placed on a finger, a table centrepiece: the smallest details can trigger the biggest emotions. Use close-ups such as these to make original backgrounds for some of your album pages.
8
Be creative!
Your wedding day is the guideline to your album. Use your creativity to fill in the pages!
- Alternate between black and white and colour photos.
- Use different layouts. For example, use a double page layout to showcase a wide shot of the newlyweds dancing, followed by more personal, up-close photos, like someone smiling.
- Be creative in the details. For example, place a photo of the bride’s dress between two photos of everyone getting ready.
9
Let your photos do the talking
- Avoid adding too many comments to your photos. If you choose the right shots, they should speak for themselves.
- Add important comments next to certain photos, like the name of the bride and groom’s first dance song.
10
Take your time
Jean Coutu’s online photo assistant allows you to save your project and go back to it later. A wedding album is a big project, so give yourself the time to think it through, edit your photos and bounce ideas off your significant other.
Ready to go? Create your photo album today!

