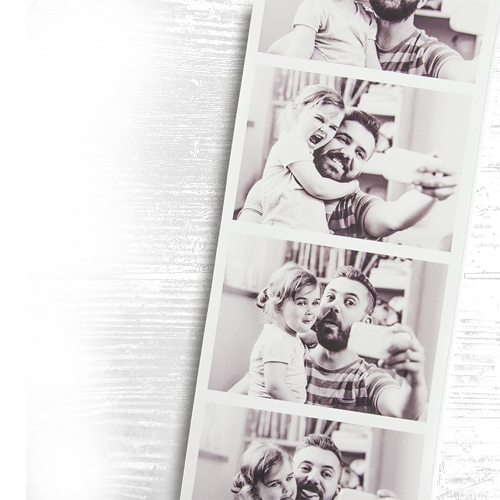
Looking for an original decoration? We’ll show you how to transfer your pictures onto wood in 6 easy steps.
Crates, planks, chairs... Revamp and customize your wood furniture with your pictures. It’s easy and original – here’s the proof.
Materials:
- A smooth wooden work surface (plank, block, box, table…)
- Acrylic gel medium
- A paintbrush
- Water
- Acrylic varnish

Directions:
- Print the photo you want to transfer in the format of your choice
- With the brush, coat the picture (image side up) with acrylic gel medium
- Affix the side you’ve just coated to the surface of the wood and get rid of any air bubbles with a credit card or ruler
- Let dry overnight
- Dampen the picture with a rag and delicately remove the paper
- Leave dry and apply a coat of varnish
It’s as simple as that!

