Bad settings, camera shake, insufficient light, moving subjects and being too close to your subject are just some of the many culprits that can give you blurry photos. Follow these 10 tips to take sharper snaps, whatever the shot and conditions.
Tripod
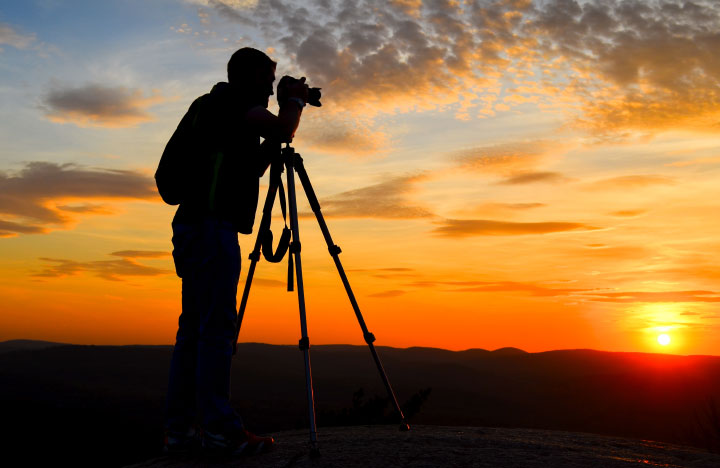
The tripod is a photographer’s best friend. Whether you’re using a smartphone, a compact camera, a DSLR or a hybrid, using a tripod is the best way to stabilize your camera. In addition to avoiding camera shake – that is, blur caused by unwanted camera movement – a tripod gives you lots of latitude when it comes to shooting angles. And, because it allows you longer exposure times, which means more light can come in, it makes shooting at dawn, dusk or night a lot easier, giving you sharper, higher-quality photos. It also helps improve the quality of indoor shots by eliminating the need for a flash and providing greater depth of field (and therefore, sharper backgrounds). What's more, because it takes a while to set up your tripod, you'll have extra time to plan your shot perfectly!

Autofocus
All cameras come with the indispensable auto-focus feature. On single lens reflex cameras (SLRs), you activate it by pushing the shutter-release button halfway down and holding it until the subject is in focus. Some cameras can also focus automatically on and track moving subjects.
Trouble is, the focus isn’t always where you want it. The result: sometimes you get an unintentionally blurry photo because main subject wasn’t in focus. That's particularly the case if your subject isn't centred in the frame. To avoid this problem, focus manually by pointing the viewfinder directly at your subject.
The right aperture
To get sharper images, consider closing down the aperture, restricting the amount of light that comes in. Large apertures (f/1.4, f/1.8, f/2.8, etc.) aren’t usually a lens’ best settings; it’s the smaller ones that are. Not only do these smaller apertures control the light you need to achieve desired exposures but they also increase the depth of field, giving you sharper images.
Managing exposure time
If you want to take a sharp photo of a moving subject, increase your camera’s shutter speed. In other words, adjust the camera so that your shutter opens and closes faster. The image is captured in a shorter amount of time (the subject’s movement will be frozen) and less light will come in, reducing the risk of overexposure. To be ready to release the shutter at the right moment, you can focus ahead of time on an unmoving object (such as a tree) that’s the same distance away from you as your desired subject.
The right lens
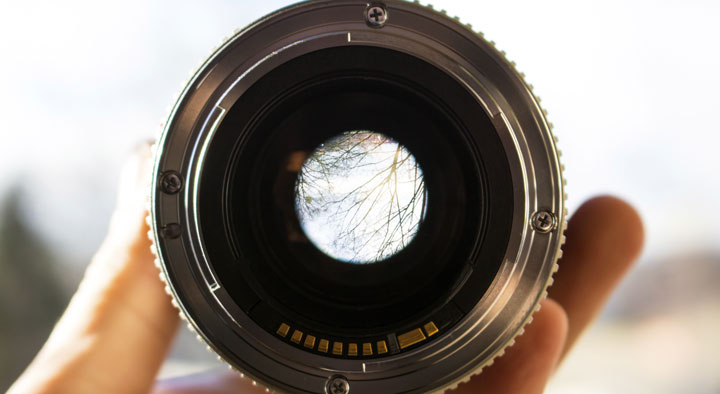
In general, fixed-focus lenses (whose focal distances don’t change – unlike zoom lenses), provide the sharpest photos. It’s important to choose the right lens for the type of shot. For example, if your subject is very close to you, check your camera’s minimum focusing distance and move away from the subject accordingly or use a macro lens.

Image stabilization
Most modern lenses are equipped with image stabilization. This feature can anticipate the photographer’s movements and shift the optical components in the opposite direction to compensate for any blur that might be caused by an awkward movement. It usually reacts when the angle of the camera changes (when tilted, for example) but doesn’t always detect lateral movements.
Continuous shooting mode
If your sensor isn’t very powerful (such as in a smartphone) but your subject is moving quickly or you’re shooting in low light, take multiple shots in continuous shooting mode. That way, you can choose the sharpest images from the set.
A clean lens
One error every beginner makes at some time or another is taking photos with a dirty lens. Always clean your camera lens before shooting, using a microfiber cloth that won’t damage the glass.


