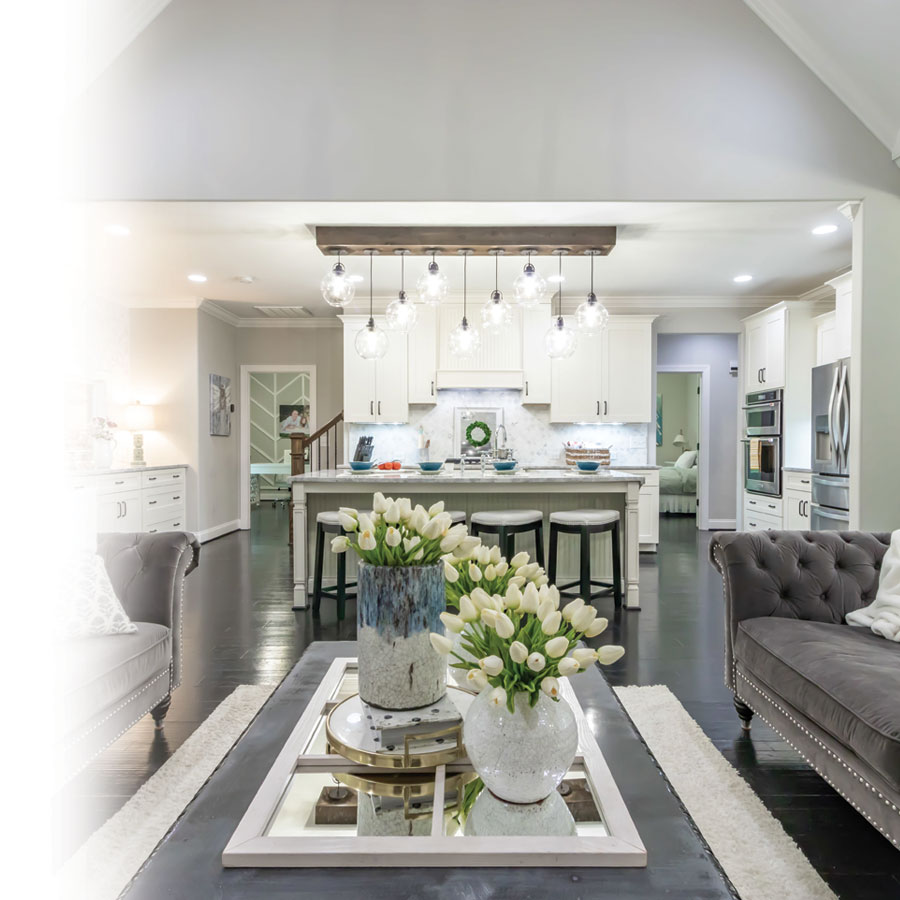
According to specialized real estate sites, including photos with your ad multiplies your number of views by 10. Well thought-out photos will allow you to stand out, seduce potential buyers and attract visitors in no time at all.
Staging
Before doing anything else, start by cleaning your property from top to bottom, as though you were expecting the visit of a potential buyer.
- Depersonalize the rooms by removing pictures and objects of a personal nature. Don’t leave the walls completely bare, though. Sometimes, a well-placed picture is all it takes!
- If need be, rearrange items to create more space in every room. Move bulkier furniture out of the way.
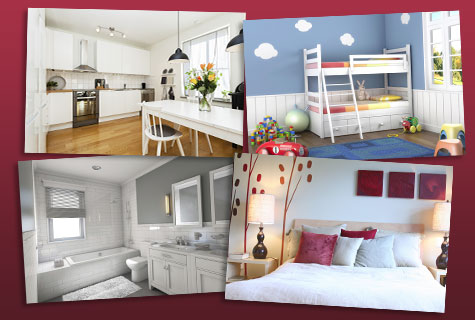
- For sofa covers and bedspreads, choose neutral colours—the same goes for the walls, should you decide to repaint them.
- Create a warm, friendly atmosphere in each room by adding a touch of colour using a cushion, placing a bouquet of flowers on a table or a lovely green plant in front of a window.
- In the bathroom: remove bath mats and hide toiletries, shampoo, shower gel, tissue boxes, etc.
- In the kitchen: remove all dishwashing products and articles around the sink and put away as many kitchen accessories as possible. Place a bowl of fruit out on the counter.
- Children’s rooms: clean them up and leave only a few toys and stuffed animals out.
Let there be light!
A major selling point for many buyers-to-be is light.
- Go through all your rooms and open the curtains, turn on all the lights: ceiling and bedside lights—even the stove hood light!
- Take photos of your home during the brightest time of day.
- Use a flash, even during the day, and always point it toward the ceiling.
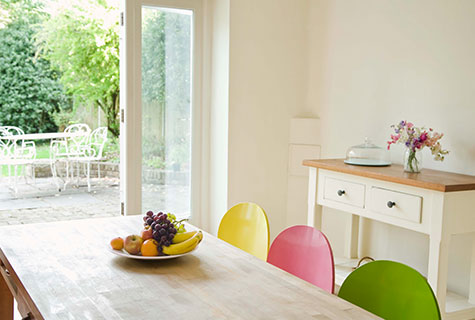
- Be careful of backlighting in rooms with windows. Choose your angle well and adjust the exposure, if necessary, to avoid shots that are too dim or too bright.
How many photos do you need?
People have a tendency to take as many photos of their house or condo as possible. However, a dozen or so shots should suffice to illustrate your ad, depending on the size of your property. Before every shot, ask yourself whether or not it will showcase your home or provide interesting information to the prospective buyer. In this way you will quickly reduce the number of photos you take.
Rooms to photograph
- It’s not necessary to photograph every nook and cranny—it goes without saying that some rooms are of very little interest to potential buyers, like the broom closet for example! But other storage solutions can be a big plus for potential buyers, especially in cities, where space is at a premium. Photos of a walk-in closet or well-organized clothes storage may be just the thing to entice someone to visit your home.
- Don’t hesitate to get several angles of the living room, kitchen or bedrooms.
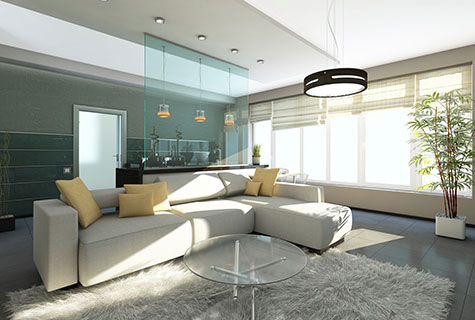
- If the neighbourhood is attractive, or your property has a magnificent view, a panoramic photo is the perfect way of showcasing it.
- Make sure that your pets don’t find their way into the pictures.
- Avoid uninteresting details, like close-ups of toilets or intercoms (don’t laugh: it happens more than one might think!).
- For the thumbnail: If you’re selling a condo, choose the most beautiful snapshot of a large room, such as the living room or master bedroom. But if you’re selling a house, opt for a photo of the facade… or else potential buyers might think that it isn’t worth showing!
Decor items and framing
- If you use an SLR, choose a wide angle lens. If you are not yet fully equipped camera-wise, this may be the perfect time to invest in some quality photo equipment or to consider renting some for the day.
- An external flash as well as a tripod will help optimize light conditions and prevent blur in darker rooms.
- Set up in a corner to get the widest possible angle.
- As for framing, get the ceiling in the top quarter of the photo.
- Frame large rooms like the living room horizontally and smaller rooms like the bathroom vertically.
- Show several angles of the same room. Don’t hesitate to get up on a chair or position yourself halfway up the stairs to get overhead shots.
Editing your photos
- The final crucial step consists of editing your pictures with photo-editing software (Photoshop, Lightroom, Gimp). Your objective: improve brightness, bring out colours and increase image sharpness.
- A popular option for real estate photos is High-dynamic-range imaging, a technique which creates one image from multiple photos (3 to 5) shot from the same angle but with different exposures, blending tones together for the perfect exposure. Most newer cameras, cellphones and tablets have an automatic HDR feature. You can also take the shots manually and edit them together using photo editing software.
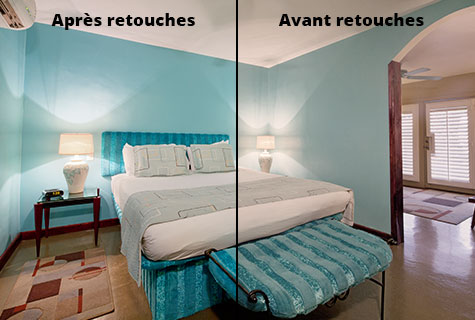
- Be careful not to overdo it: photos that have been touched up too much may leave potential buyers disappointed, as they will come to your home expecting one thing but find another. Unrealistic photos may even discourage people from coming to visit in the first place.
- Before publishing your ad online, make sure to use the largest format available and reduce image size for Web viewing.

