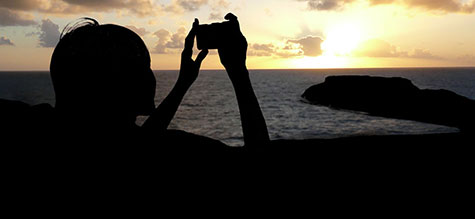
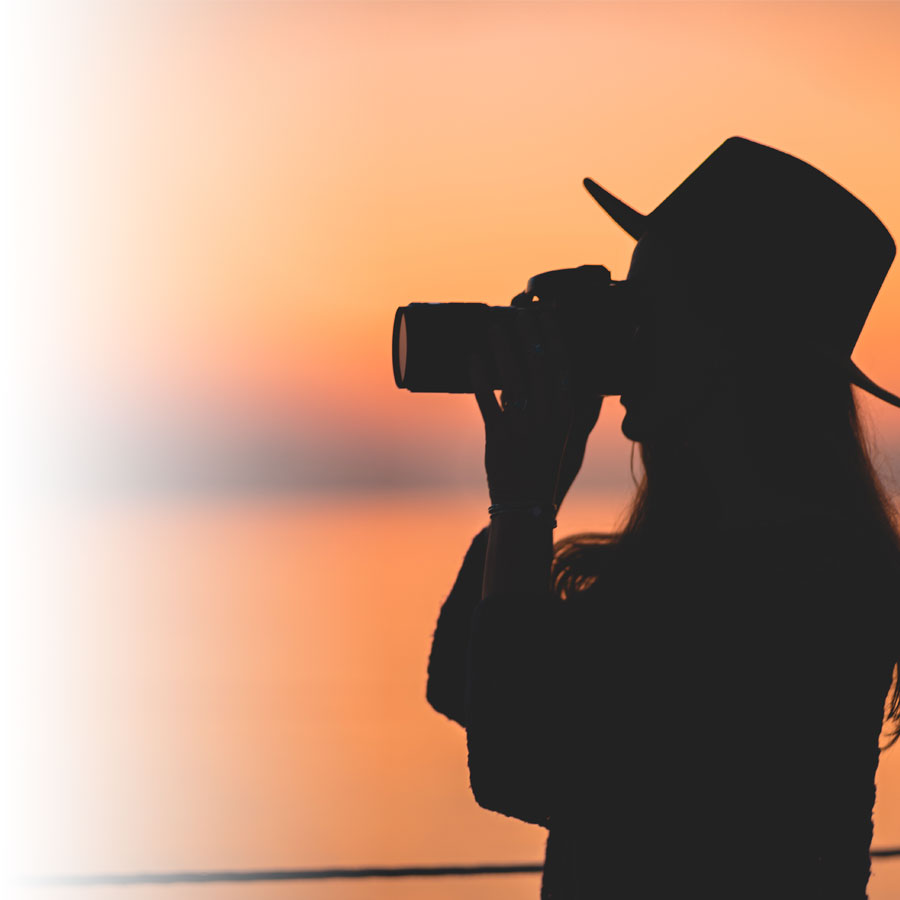
What would a summer vacation be without stunning sunsets? Here are some tips to master the art of photographing these majestic moments.

The right time
Set off about one hour before sunset or sunrise so you have time to locate the best place to take your photo (remember that the sun sets in the west). To avoid damaging your eyes, look at the sun via your preview screen instead of looking directly at it. Has the sun already gone down? Wait a while! It’s during the 20 minutes following a sunset that you’ll often get the most amazing light.
The sun is secondary
The problem with taking sunset photos is that you often end up with the same results each time. Here are a few tips on composition to help you get original shots:
- Your main subject is not the sun, no matter how beautiful it is.
- Never centre the sun.
- Play with the foreground, shadows and backlighting.
Taken with backlighting, the silhouette of a boat, a fisherman or a palm tree will stand out in your picture, giving it depth and making it more interesting—especially if you respect the rule of thirds. If you would like to highlight an item that is close to you, or show details of the backlit object, use the flash.

Sunset mode
Many cameras offer a sunset mode with settings that are adjusted to preserve the warm shades of a setting sun. Try it, and, if the outcome is too dull for your liking, revert to the manual settings outlined below.
The right manual settings
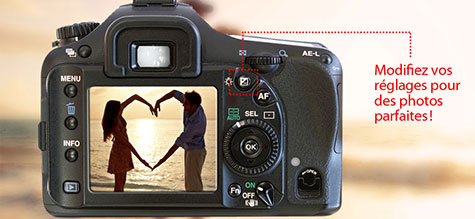
Here are the perfect settings for taking photos that reflect the beauty of these golden hours:
- Exposure: To get the perfect backlighting, keep the sun outside the frame and point your camera at the sky, close to the sun. Press halfway down on the button and hold, then frame your subject with the sun before taking the picture.
- Exposure time: Play around with it and take test shots. The longer the exposure time, the more the sky and clouds will stand out in your photo.
- ISO: Opt for a low setting (100 or 200 ISO) when it’s still light out. Increase it bit by bit as the light fades.
- White balance: Set it to “daylight” to capture warm shades and to “cloudy” if your pictures are too dull.


