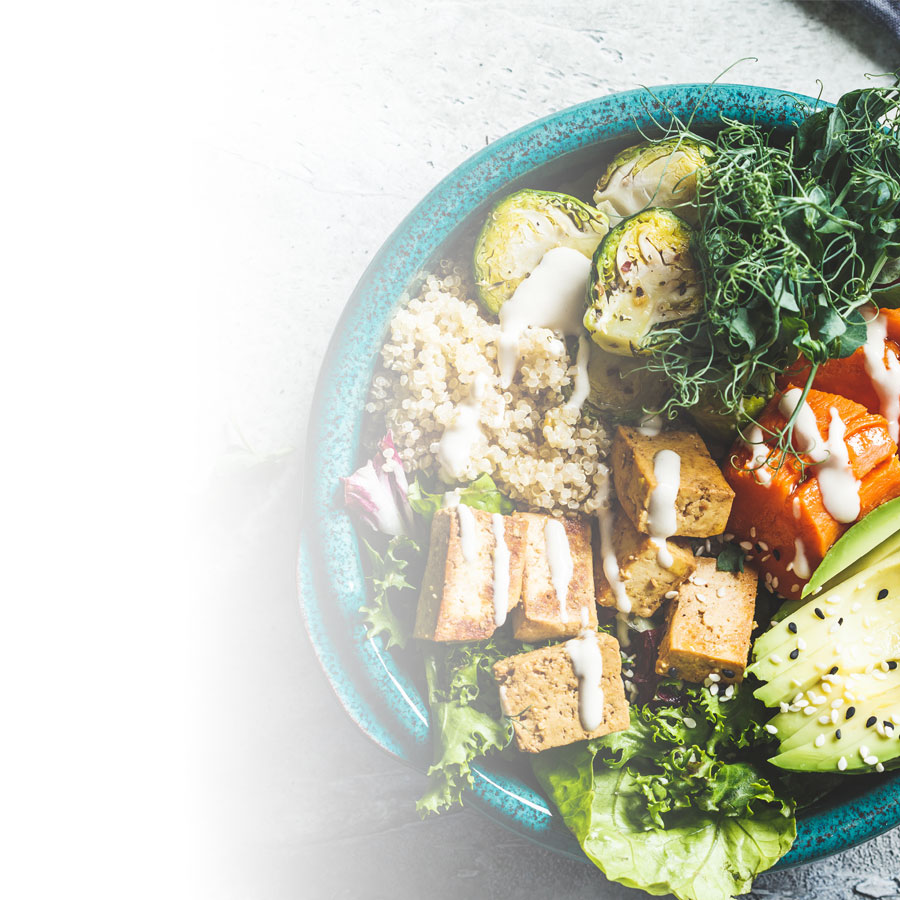
It’s one of the most popular subjects on social media. Even among photographers, food porn and instafood are the topics of the day. However, just because a lot of foodies are feverishly photographing culinary delights doesn’t mean that snapping shots of gourmet dishes, desserts or fresh ingredients is a piece of cake. It requires technique and, above all, preparation. Follow our recipes for taking fabulous shots that will make mouths water!

Getting ready
The secret to a good food shot is to think it through before even taking out the chopping board. This approach means that you can manage everything: the selection of ingredients, set up, decor, light and time. Indeed, the time factor is essential in acing your shots of a gourmet dish, especially if it’s served steaming hot. In the time between setting the dish down on a surface and deciding how you frame the shot, the appearance of the food will have been altered. And as it goes cold, it will look less appetizing.

Equipment
No matter what device you use, you can get great food shots—even with a cellphone. For a more professional result, use an SLR camera with a long-focus lens so as to get an out-of-focus background, thusly properly separating your subject from the background in your close-ups. The wider the aperture (f/2.8 and more), the better the result. A tripod may also come in handy for any high-angle shots.
This brings us to lighting, an important element in getting good shots. In food photography, soft lighting works best. This kind of lighting is easy to achieve with natural daylight or, as a secondary option, a reflector. Do not use a direct flash indoors. It will result in a bad shot of very unappetizing food—the opposite of what you’re going for.
Presentation à la foodie
Because some dishes are less presentable than others, it will often take the right staging to make them look delicious. Here are a few framing and presentation ideas to help you out:
CLOSE-UP
This will allow you focus more on one element in your presentation, or make the dish stand out from the background. A close-up also allows you to draw attention to interesting details, like the texture of a certain ingredient, the crust of a slice of bread or cookie crumbs, for example.

HIGH-ANGLE
Ideally taken with a tripod, this kind of shot lets you plan your staging around your gourmet dish.

STILL LIFE
Every detail counts. The tablecloth, plate, cutlery, colours, light, little accessories and a few fresh ingredients are all elements that contribute to your dish.
LIFESTYLE
Having a foodie in the shot adds panache to any food photo. Just one example: take a close-up shot of your foodie biting into an apple, bagel or muffin.

Your recipe book
The natural next step following taking the perfect food photo is creating a recipe book:
- Begin by choosing the right album style and shape. Jean Coutu has a wide selection for you to choose from: you can find vertical, horizontal, square, soft cover and hard cover albums in-store. One’s not particularly better than another, it all depends on what you like and what pictures you took.
- Depending on the complexity of the dish in question, recipes usually run two-pages long with three or four photos that detail the main steps for preparing your meal. If you don’t have several photos, know that just one will suffice.
- Lastly, style-wise, you need to choose whether your album will be artsy, with a scrapbooking edge, or more classic in nature. Can’t decide one way or the other? Alternate between styles. It could even turn out better that way—such a mix and match could make for an enticing cadence for those who read your family recipe book.


