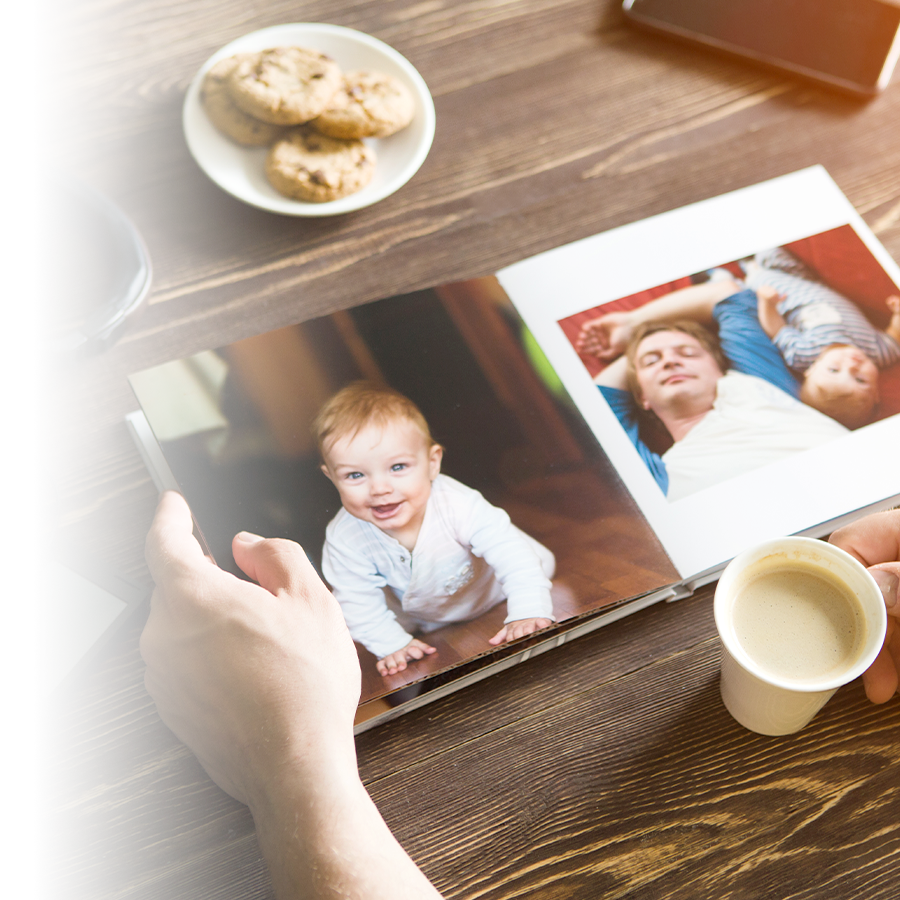
This year, use your holiday break to go through the pictures you’ve taken this past year and create a personalized photobook featuring your favourite moments. This easy guide will tell you how!
Triage and selection
This step might take some time and a bit of work, but you’ve got to start somewhere! Get comfortable, go through your pictures and copy the ones you want to keep into a folder. Then, go through these pictures a second time because you’ll probably have too many!

Designing your book
Once you’ve gone through your pictures, you can start designing your book and determine which overarching story you want to tell in your photo album. These simple questions could help you:
- What’s the subject of my book: family, friends, kids, my relationship or a bit of everything?
- Are there themes I want to showcase in my book? Vacation, food, outdoors, daily life… the choices are endless!
- Will the photos be displayed chronologically or in line with the theme?
A good way of proceeding is to note the kind of layout you want and see if you have enough pictures for every theme or section.
Choose your theme
For design and layout, printing services provide you with a number of themes, from the classic look to more playful ones. You can see an overview of each theme to get an idea of what it will look like.

Choose the cover
Hardcover or softcover, cardboard or leather: choosing your photobook’s cover is an important step, especially if you want to display it as a coffee table book. Once you’ve picked the format, select which picture you want on the cover. If you can’t decide there’s good news: you can create a mini picture collage for the first page.
Add comments
Whether it’s a date, an anecdote, a descriptive caption or the length of a novel, comments should be carefully written. Don’t forget to double check your spelling! You can use a software with spellcheck to avoid any typos.
To get the best results, it’s better to use the maximum resolution when taking pictures and use JPG or JPEG files which are easier to upload.

