Tired appearance, dark circles under the eyes, dull complexion... Has fatigue left its marks on you? It’s time to remedy the situation and get a healthy glow with a routine that’s adapted to your type of skin. Moisturizers, our makeup kit and 5 easy steps: that's all it takes!
Step 1: Prep your skin
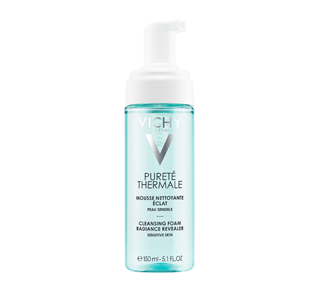
As soon as you get out of bed, cleanse your skin gently, then apply a day cream to your face and neck. Once or twice a week, treat yourself to a scrub or peel before you apply your cream.
The effects: daily care products are vital to protecting your epidermis. The barrier they create helps retain moisture in your skin while preventing and minimizing the damage caused by outside forces like dust, pollution, sun, blue light, etc. Exfoliating makes that process easier because removing the dead cells restores your skin's radiance and helps it absorb care products more easily. The result? Long-lasting hydration with maximum radiance.
The right choices: when it comes to creams, you’ll want a formula and texture that are well suited to your skin type. Finding the right one is crucial to effectiveness. Next, for exfoliating, choose a non-abrasive product that cleanses your pores deeply, and brightens your complexion without irritating your skin.

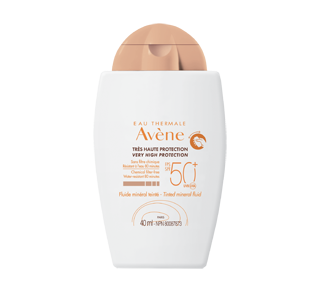
Psst! Don't forget your solar protectors. Whether it’s part of your day cream or not, using a sunscreen is vital to avoiding premature aging of your skin and other harmful effects.
Step 2: Smooth out your complexion
After your moisturizer comes the ultimate combination for fighting fatigue: a thin layer of foundation and a touch of concealer.
The effects: by minimizing the appearance of imperfections and the signs of insufficient sleep, these products will boost your complexion and brighten your overall look.
The right choices: use light, translucent, moisturizing formulas that are virtually invisible in daylight. Then, to create a ‘second skin’ effect, choose shades that are perfectly adapted to your individual skin tone.
Step 3: Apply an illuminator
A healthy glow starts with radiance... and that means using an illuminator!
The effects: applying an illuminator will help boost your skin’s radiance without overdoing it. Plus, when applied underneath your other makeup, illuminators make it seem as though the light is coming from within, and that’s the key to a natural look!
The right choices: use a powder or iridescent stick illuminator to highlight the high points of your face, like your cheekbones, the bridge of your nose, the heart of your lips, your chin, brow bone and the centre of your forehead, etc.
Step 4: Apply a hint of blush
Just the right amount of blush goes a long way to achieving a healthy complexion.
The effects: a little blush on the peaks of your cheekbones will subtly boost their natural colour, creating a fresh, natural effect.
The right choices: use a cream or gel blush that gives your skin a supple, well-moisturized finish. You can also use one on your lips if you choose. Also, make sure you pick a colour that complements your natural skin tone—for example, soft pink for cooler tones, or a coral for warmer ones.

Step 5: Complete the process with a touch of mascara
Adding a little mascara can accentuate your eyes by making them look wide open and create other effects. So, choose one that targets your specific needs.
The effects: applying layers of mascara will add volume, length, definition and colour to your lashes in just a few quick strokes.
The right choices: whether you prefer a waterproof formula or not, there’s a wide range of mascaras to choose from. Some are designed to add length, while others add volume and finally, some do both. Just choose the one that creates the look you desire. Remember, while black mascara may seem like the obvious choice, there are lots of other colours out there.
Pro tip: for a more natural effect, choose brown mascara. The contrast is less marked than with black mascara, so it looks natural, and your eyes will still be enhanced.


